This project was a midterm for my photography class, in which students had to create a design based off of their original imagery and/or original art, which was to be printed and displayed onto a square of bandana-sized fabric.
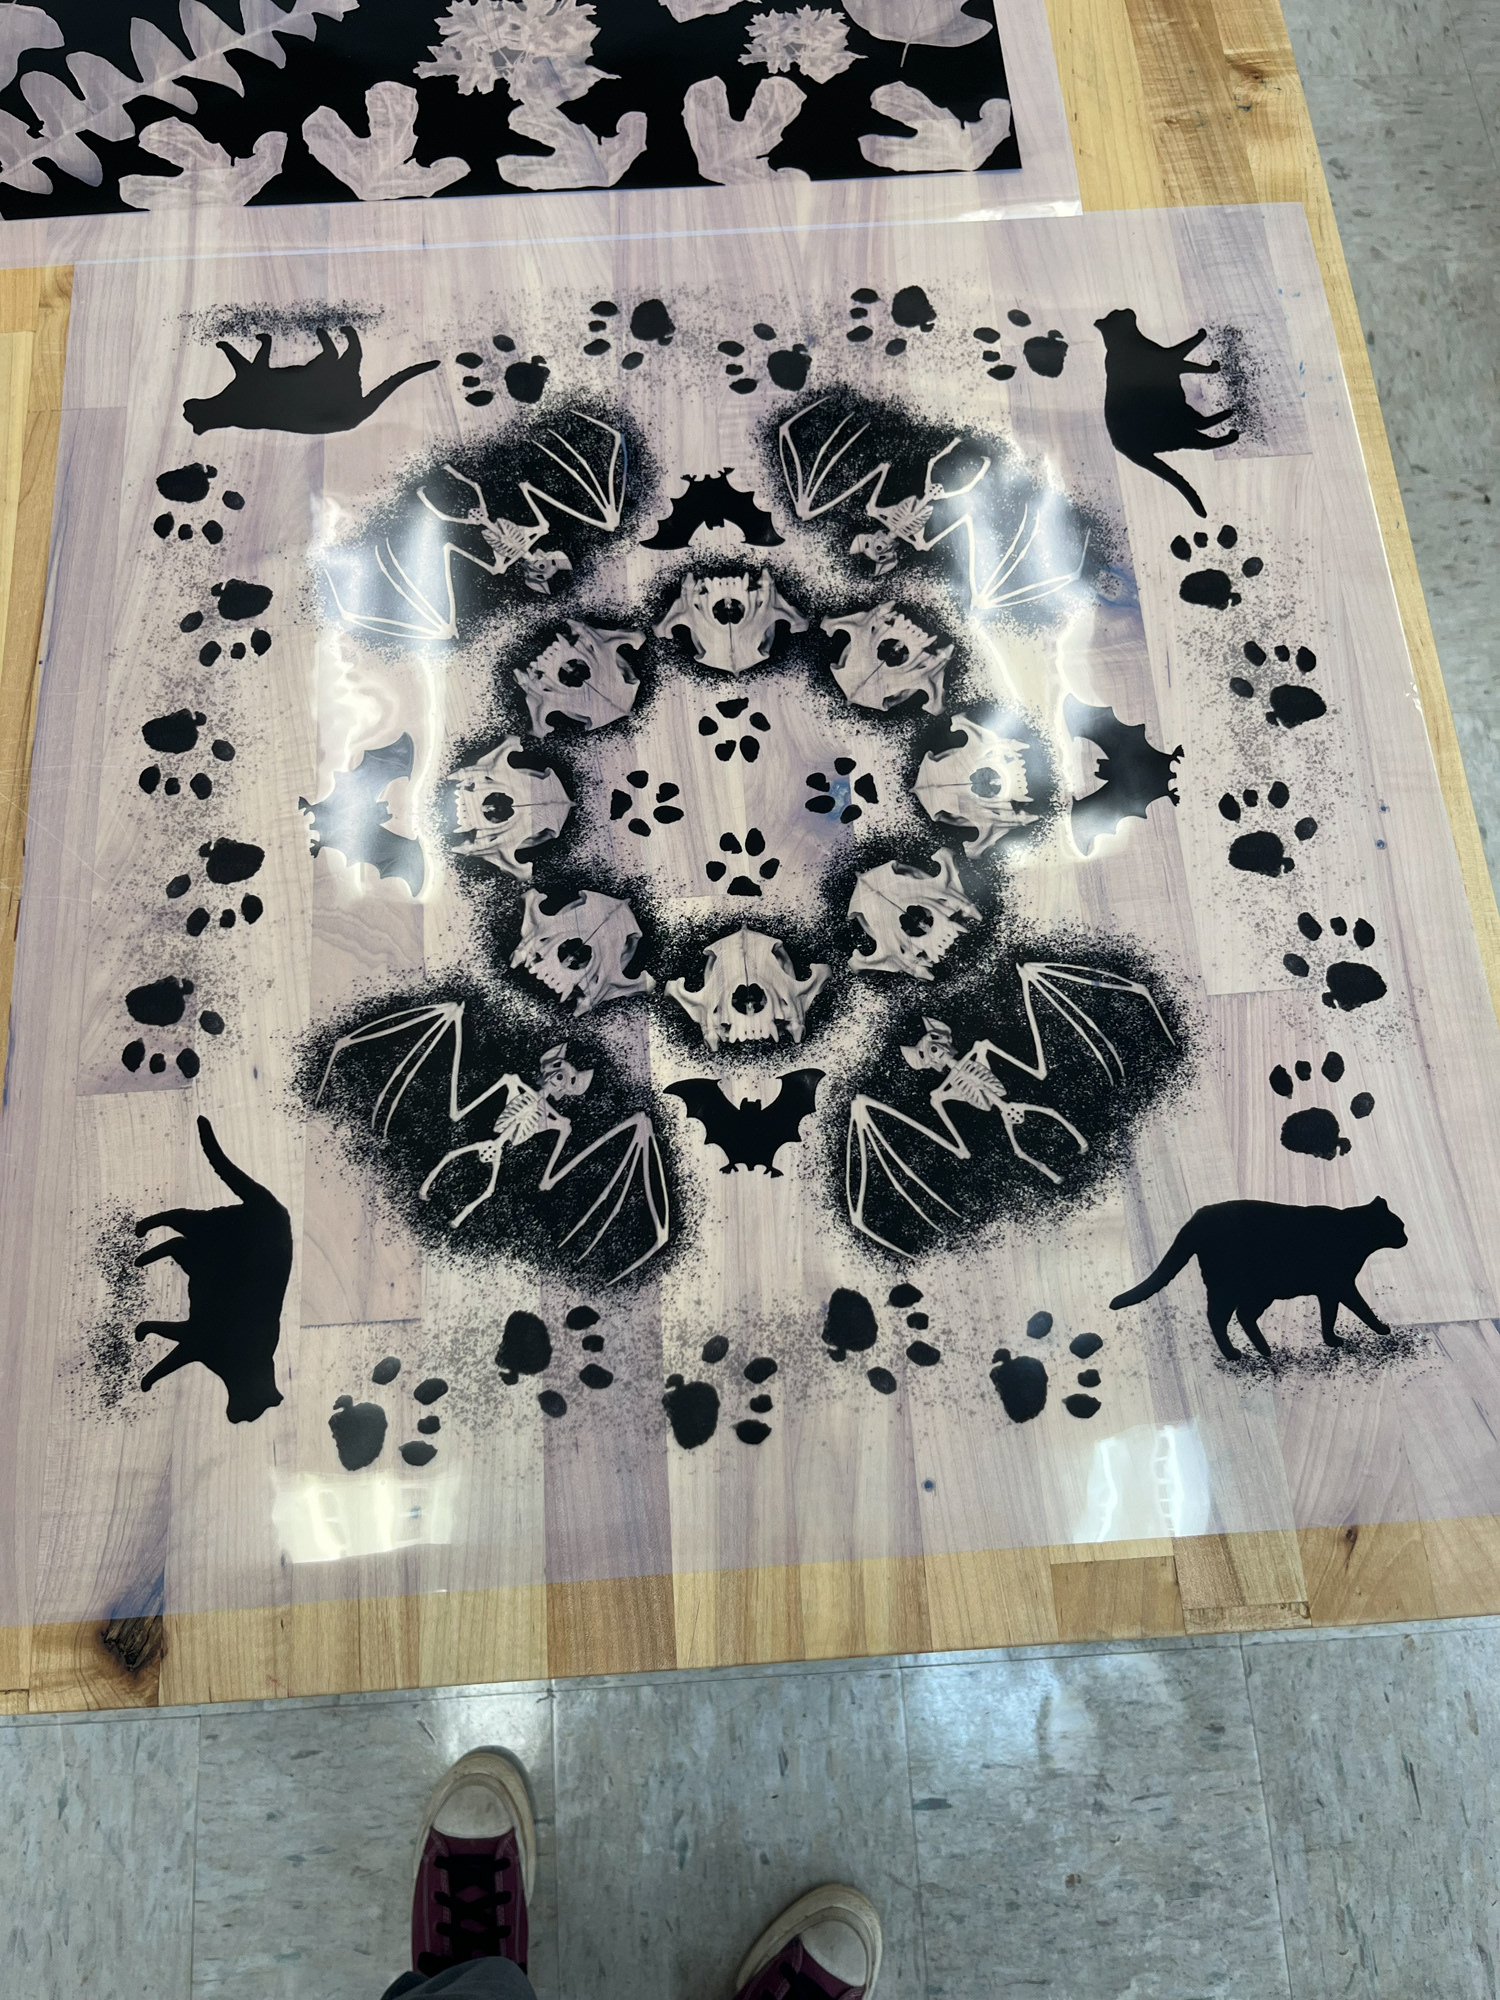
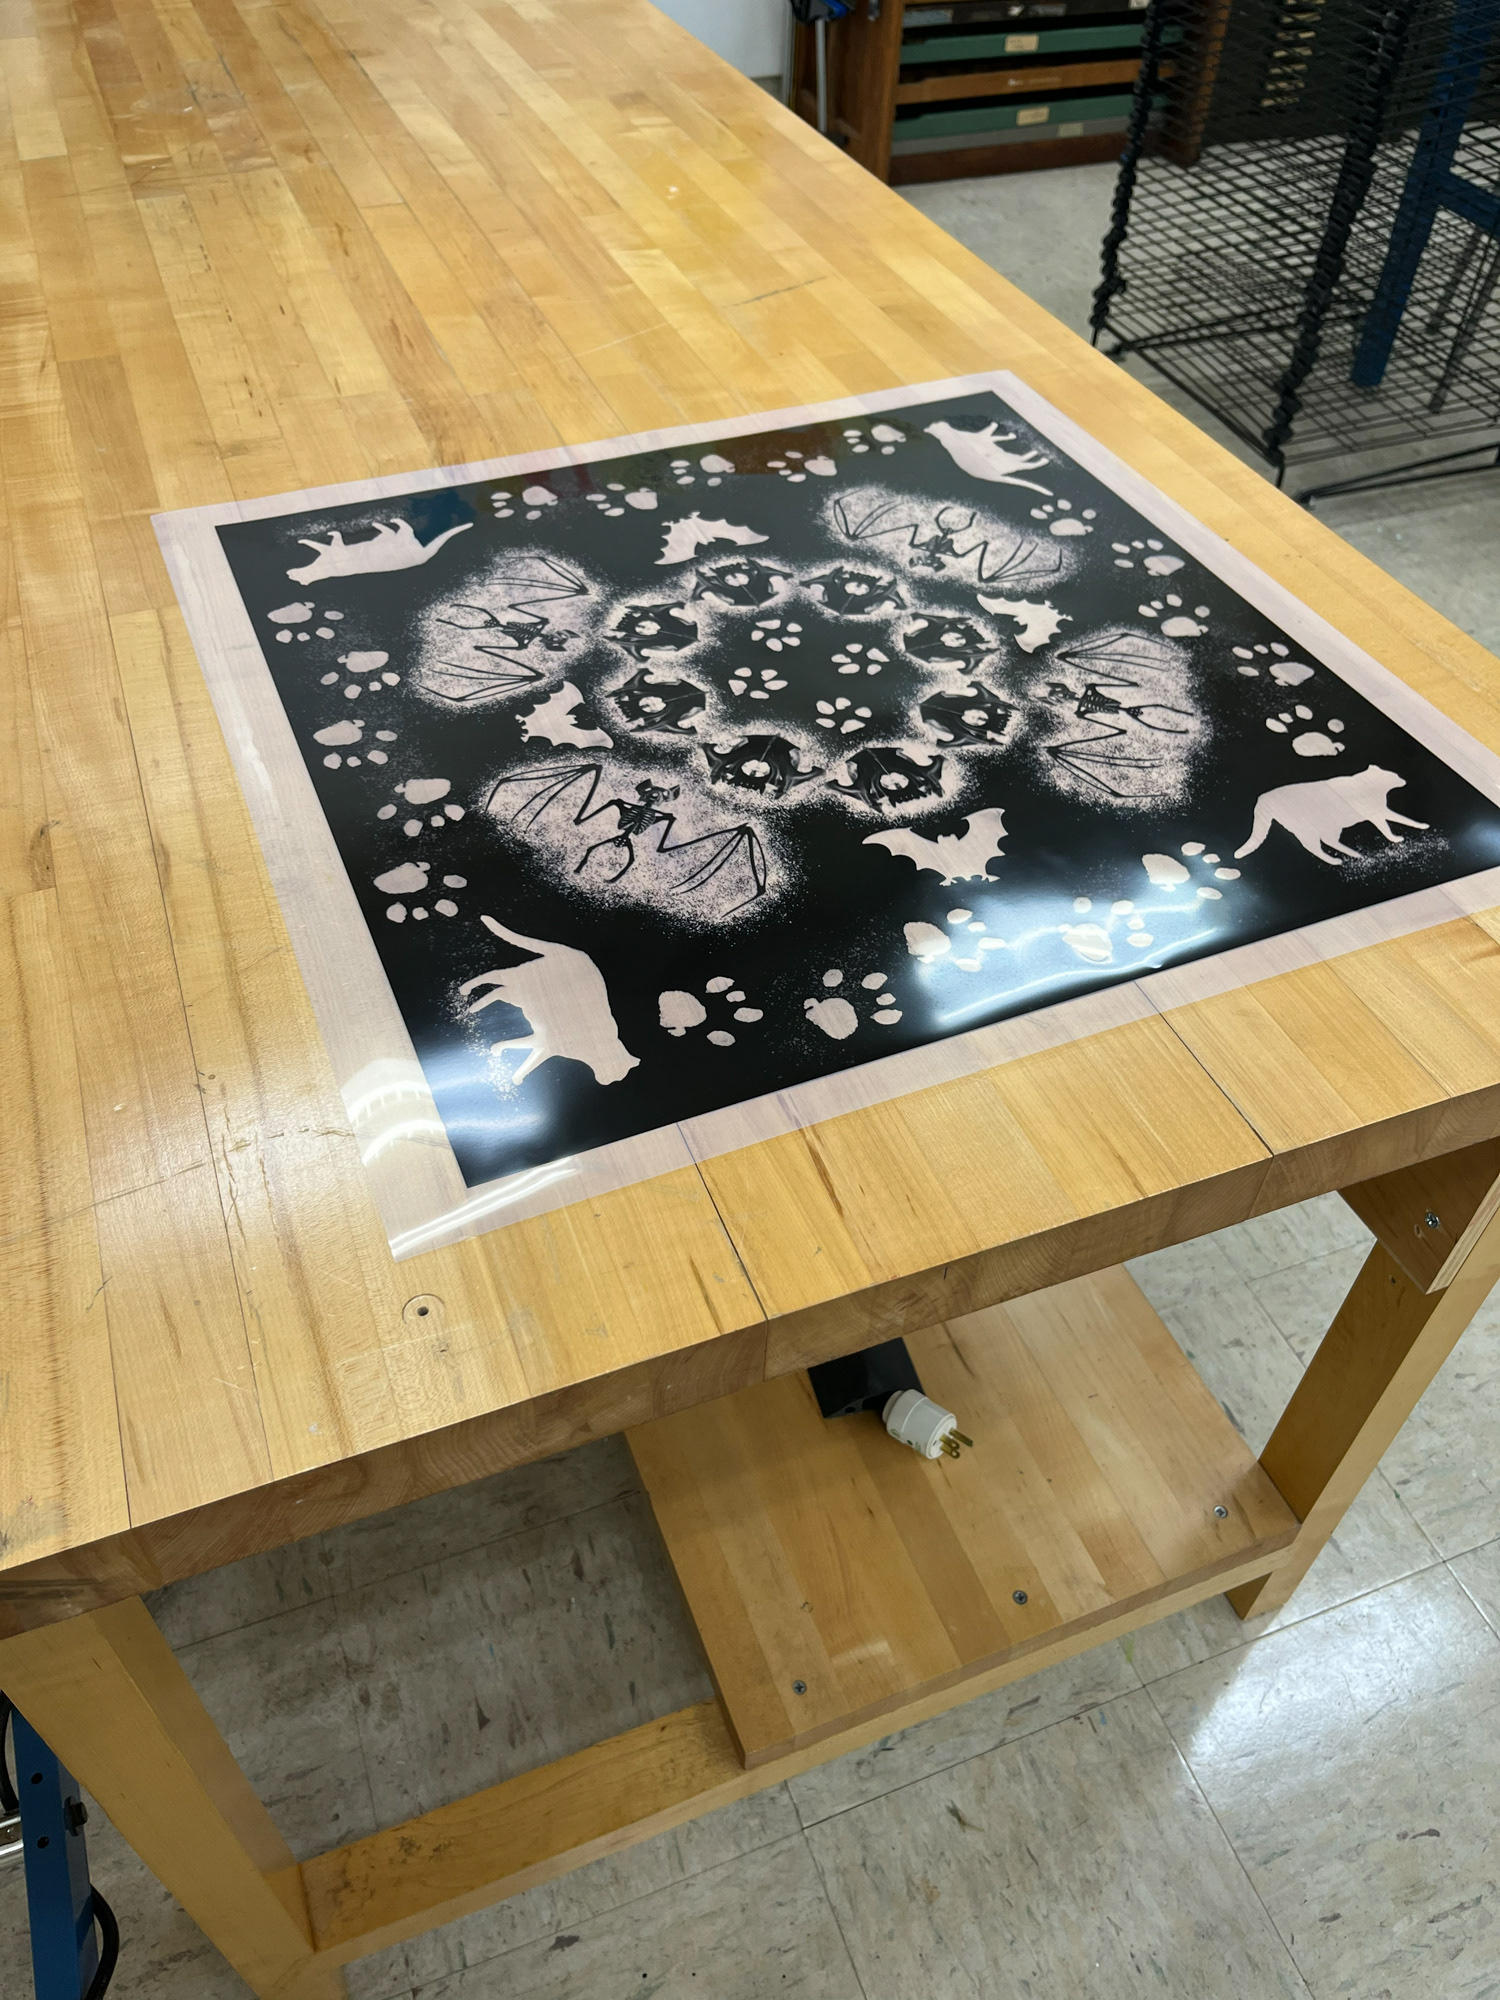
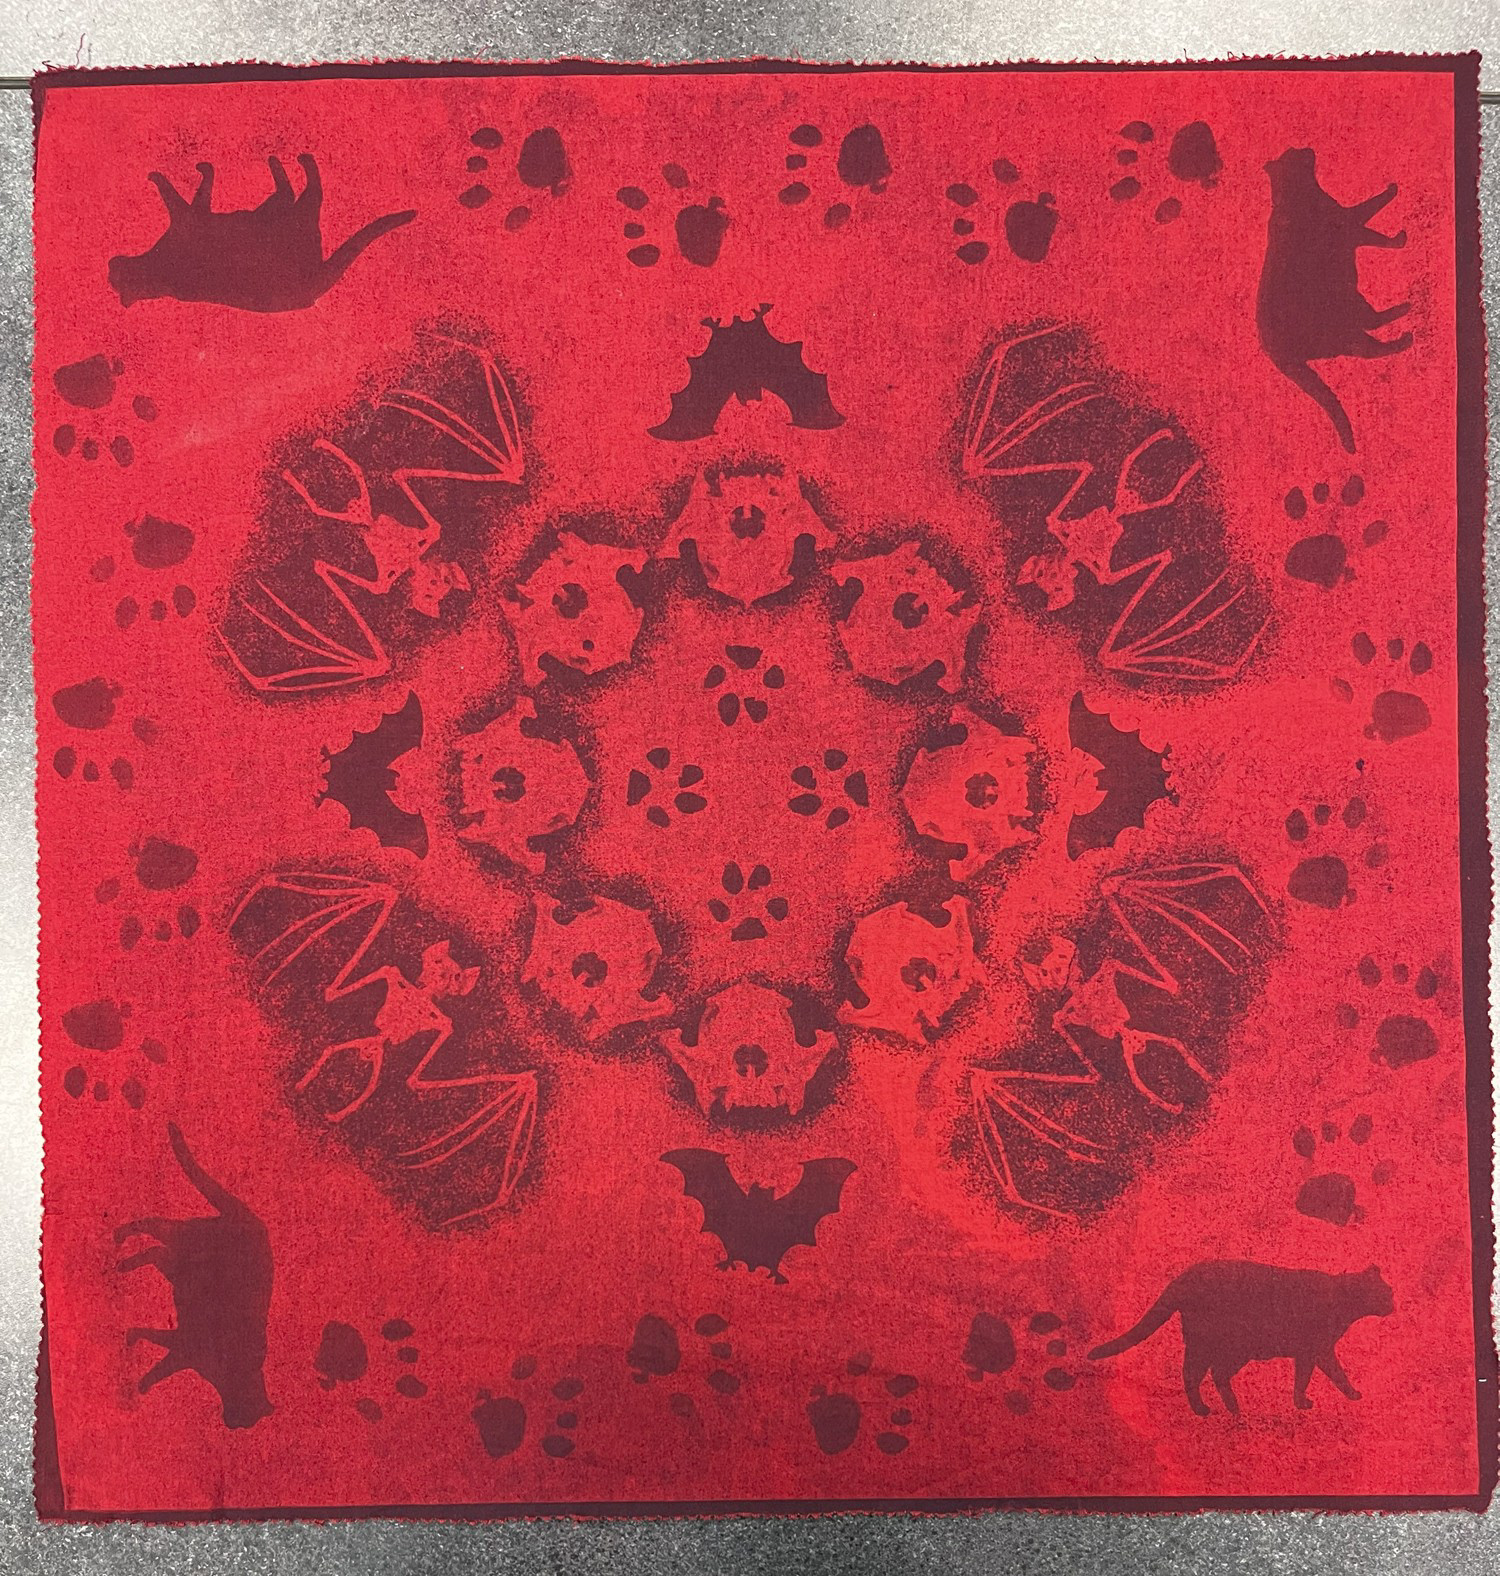
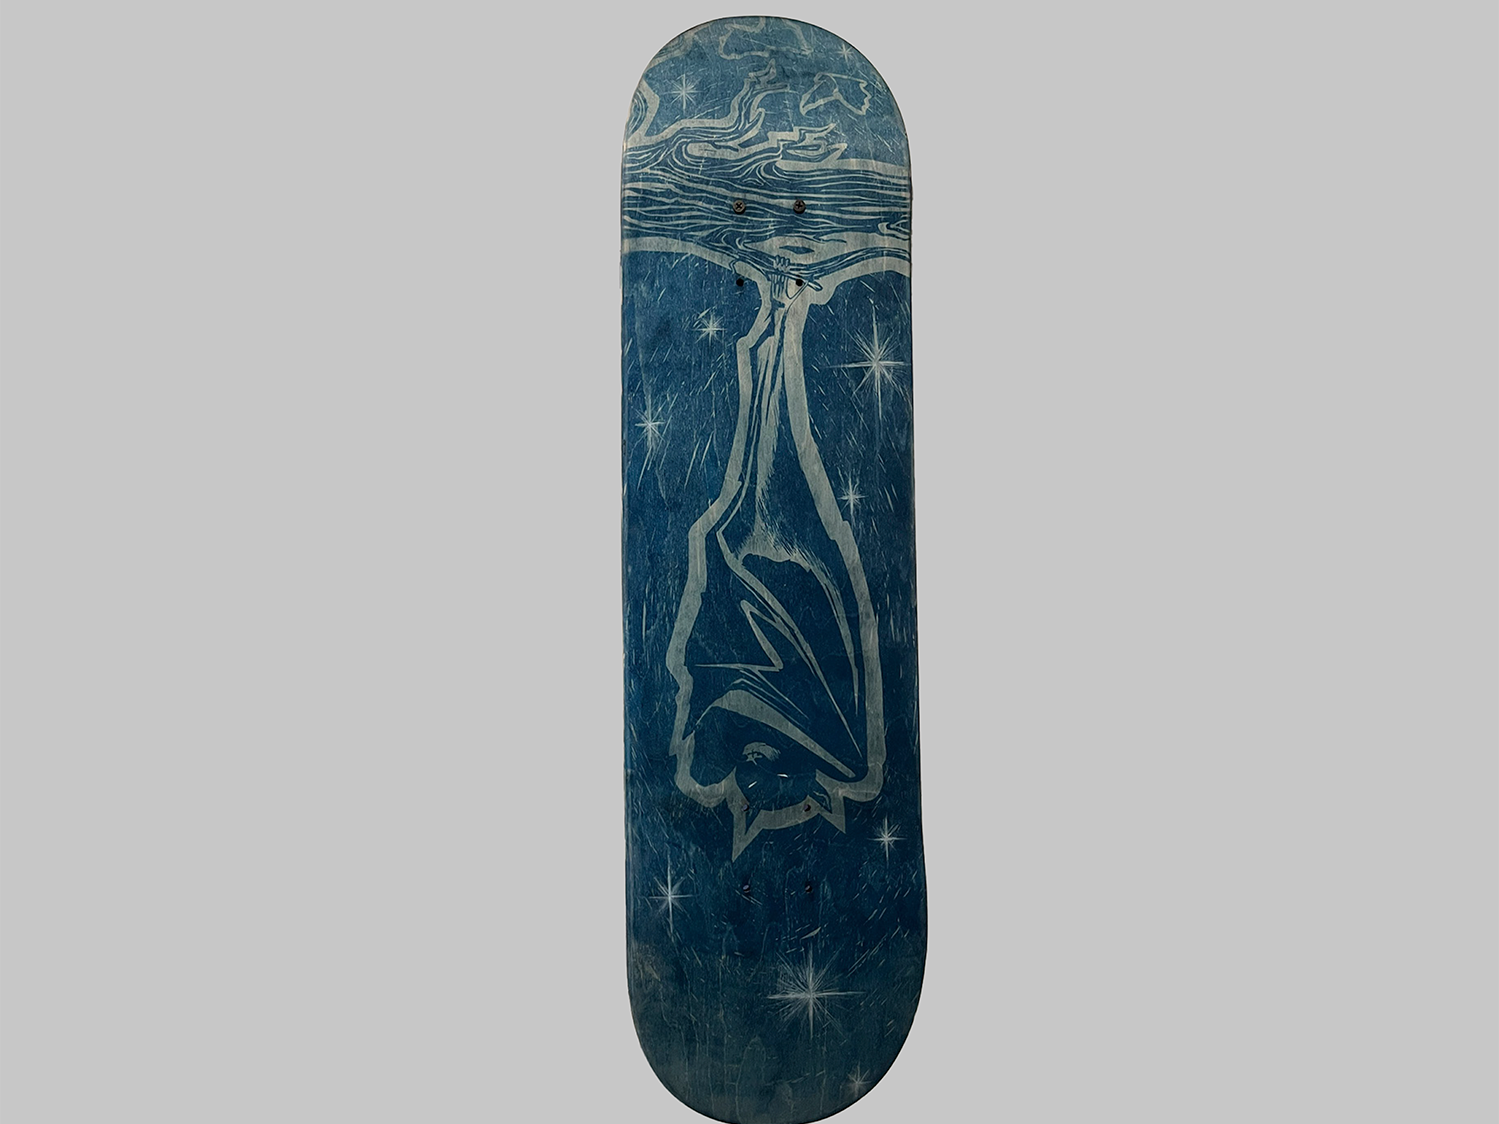
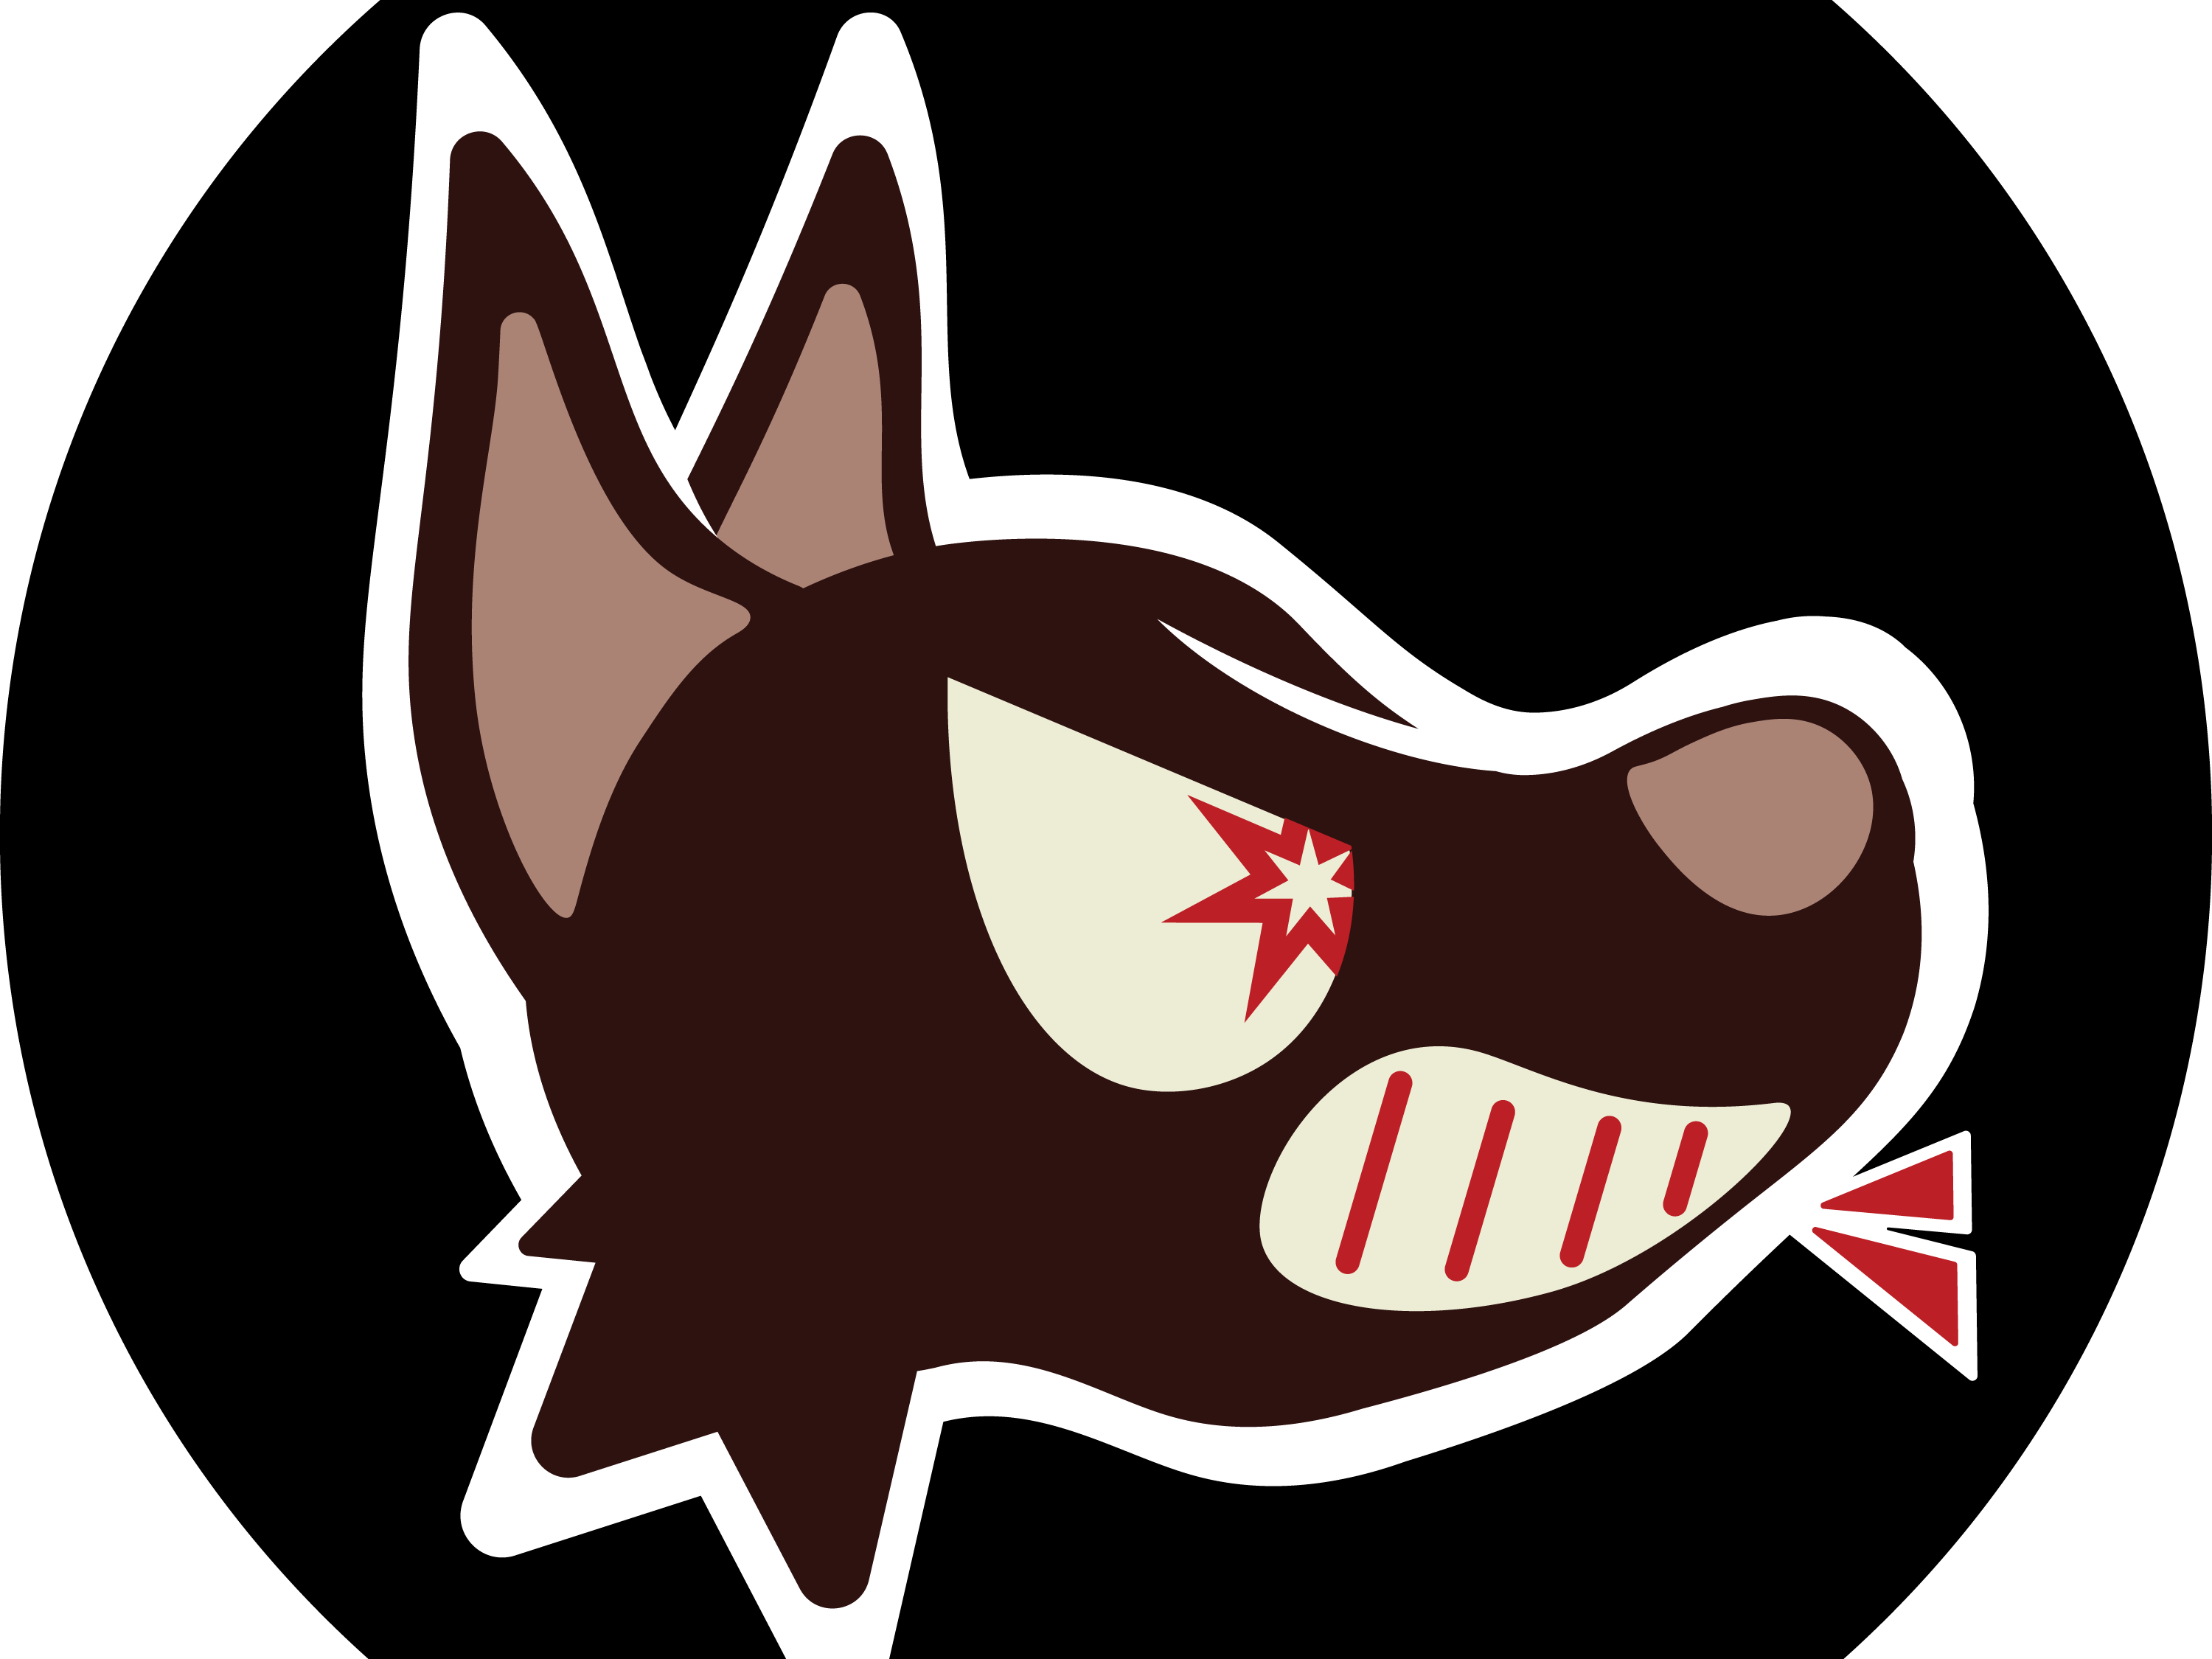
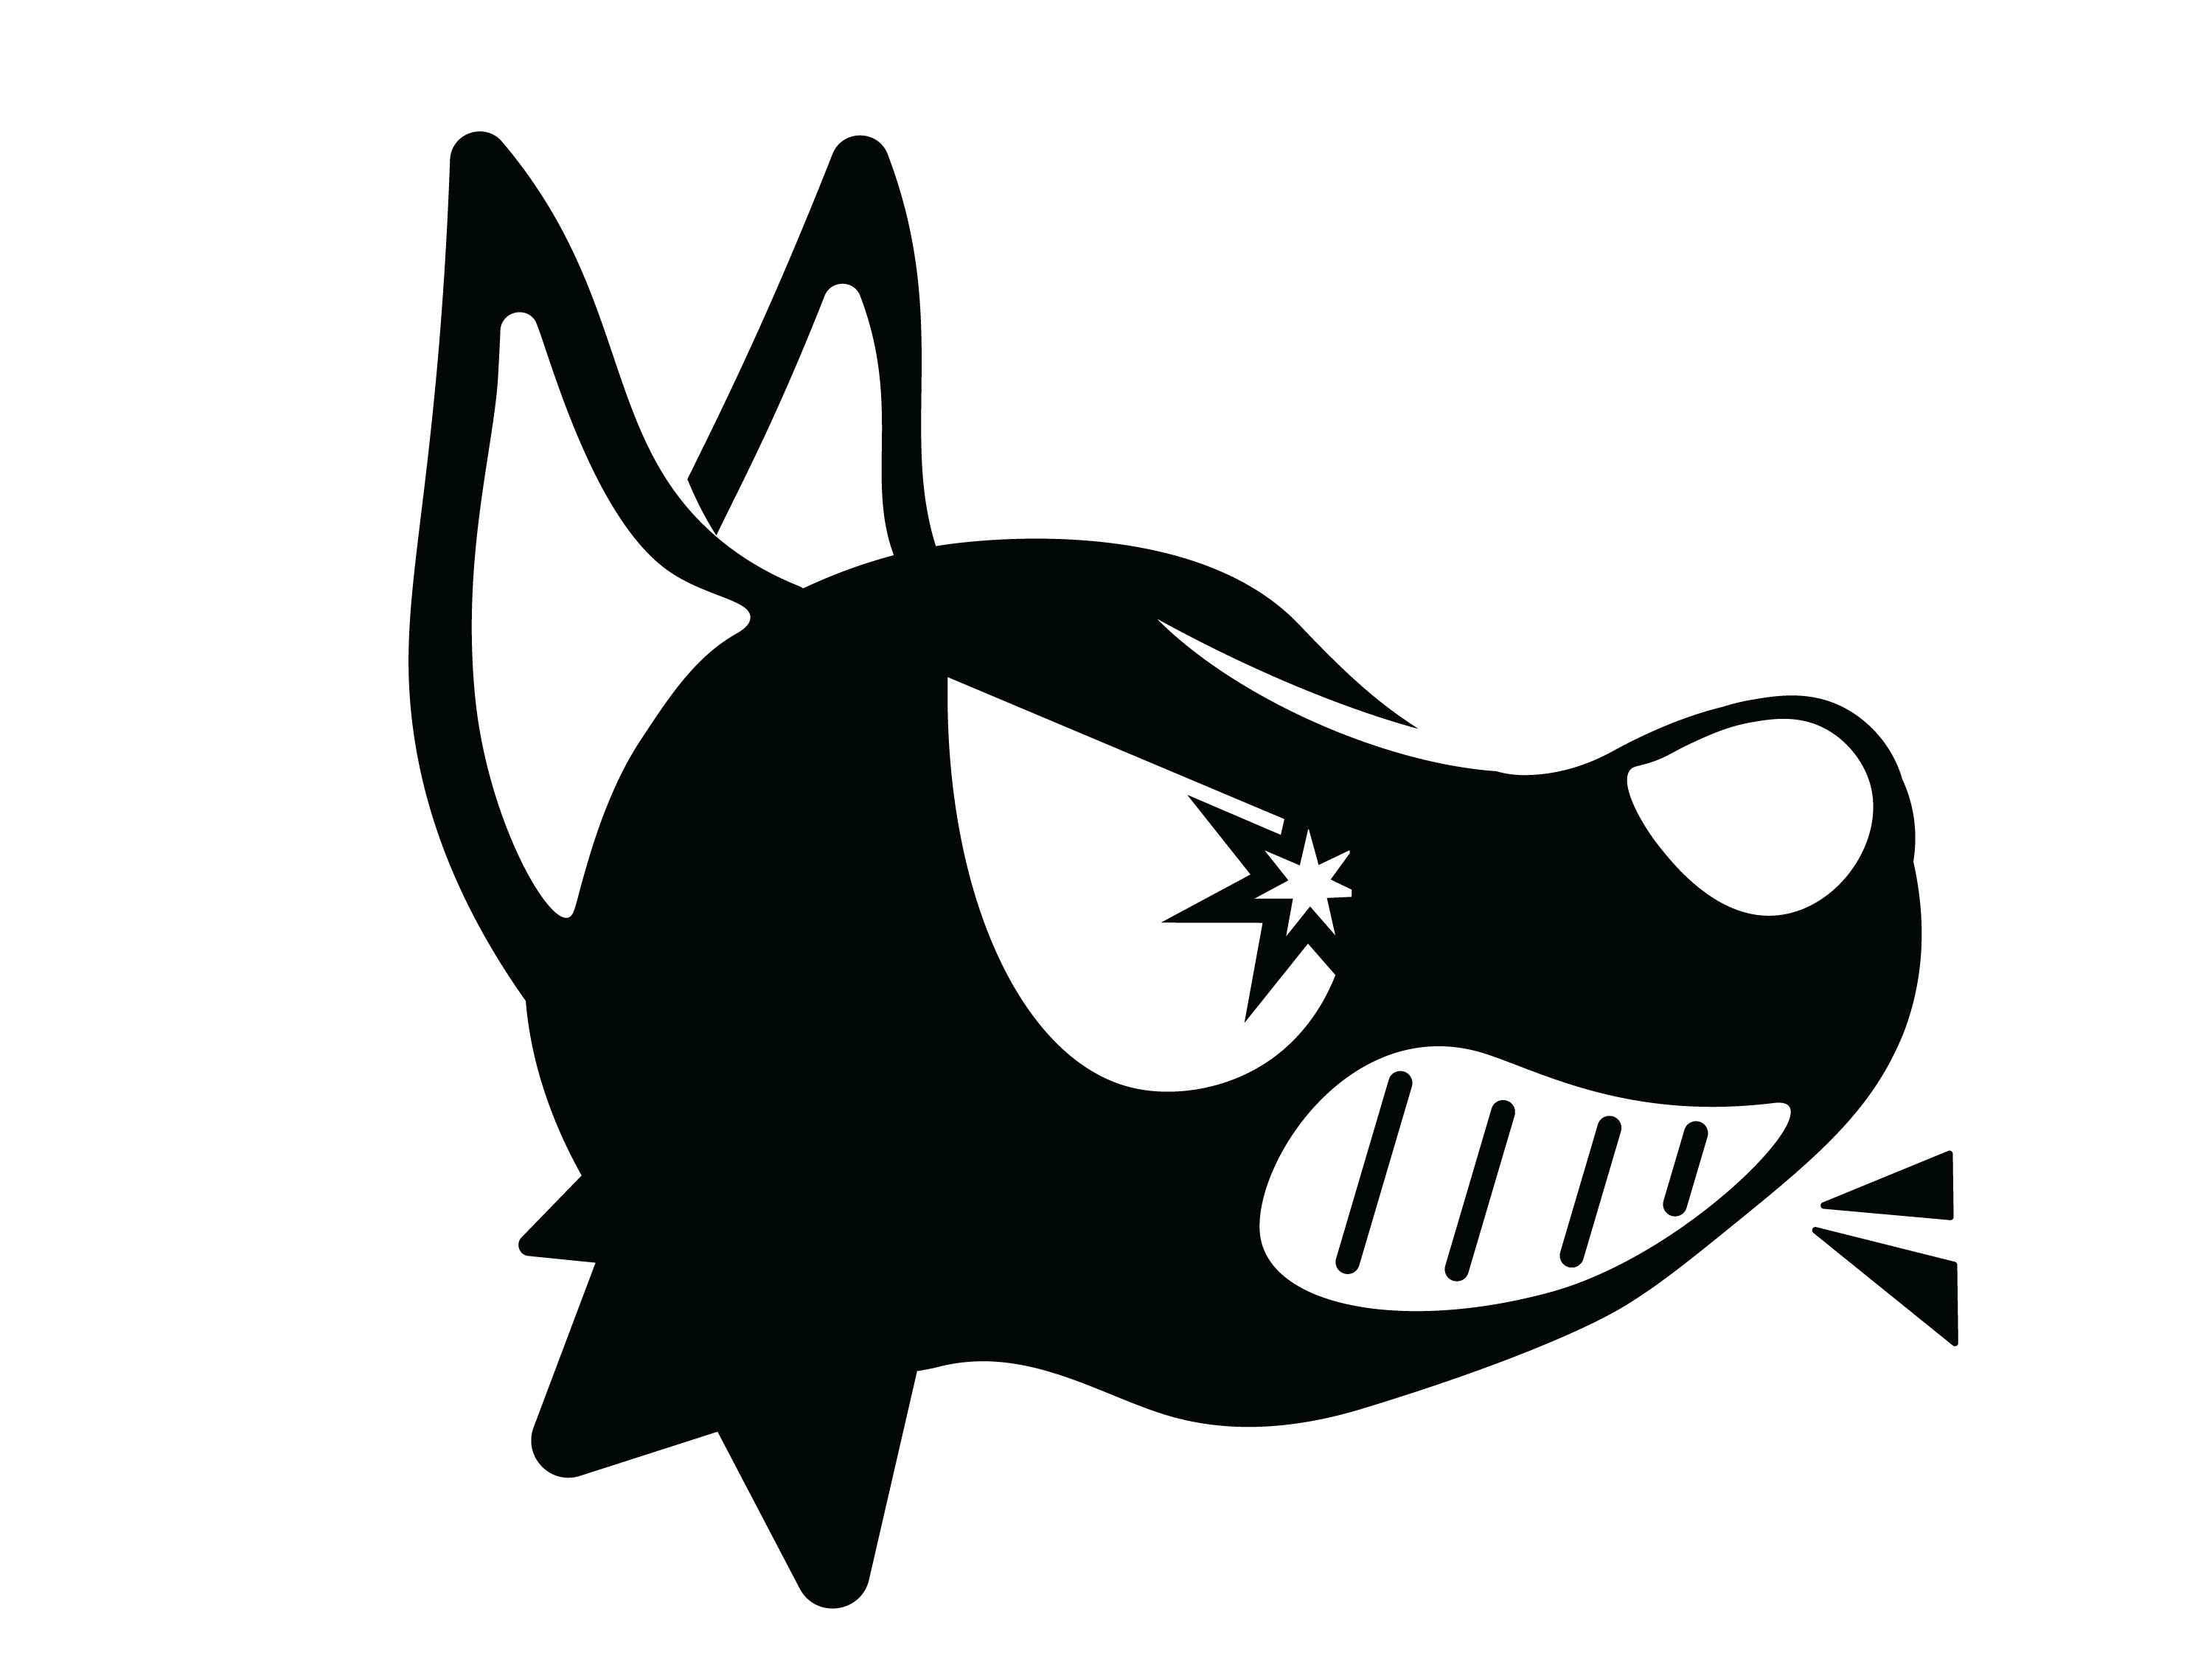
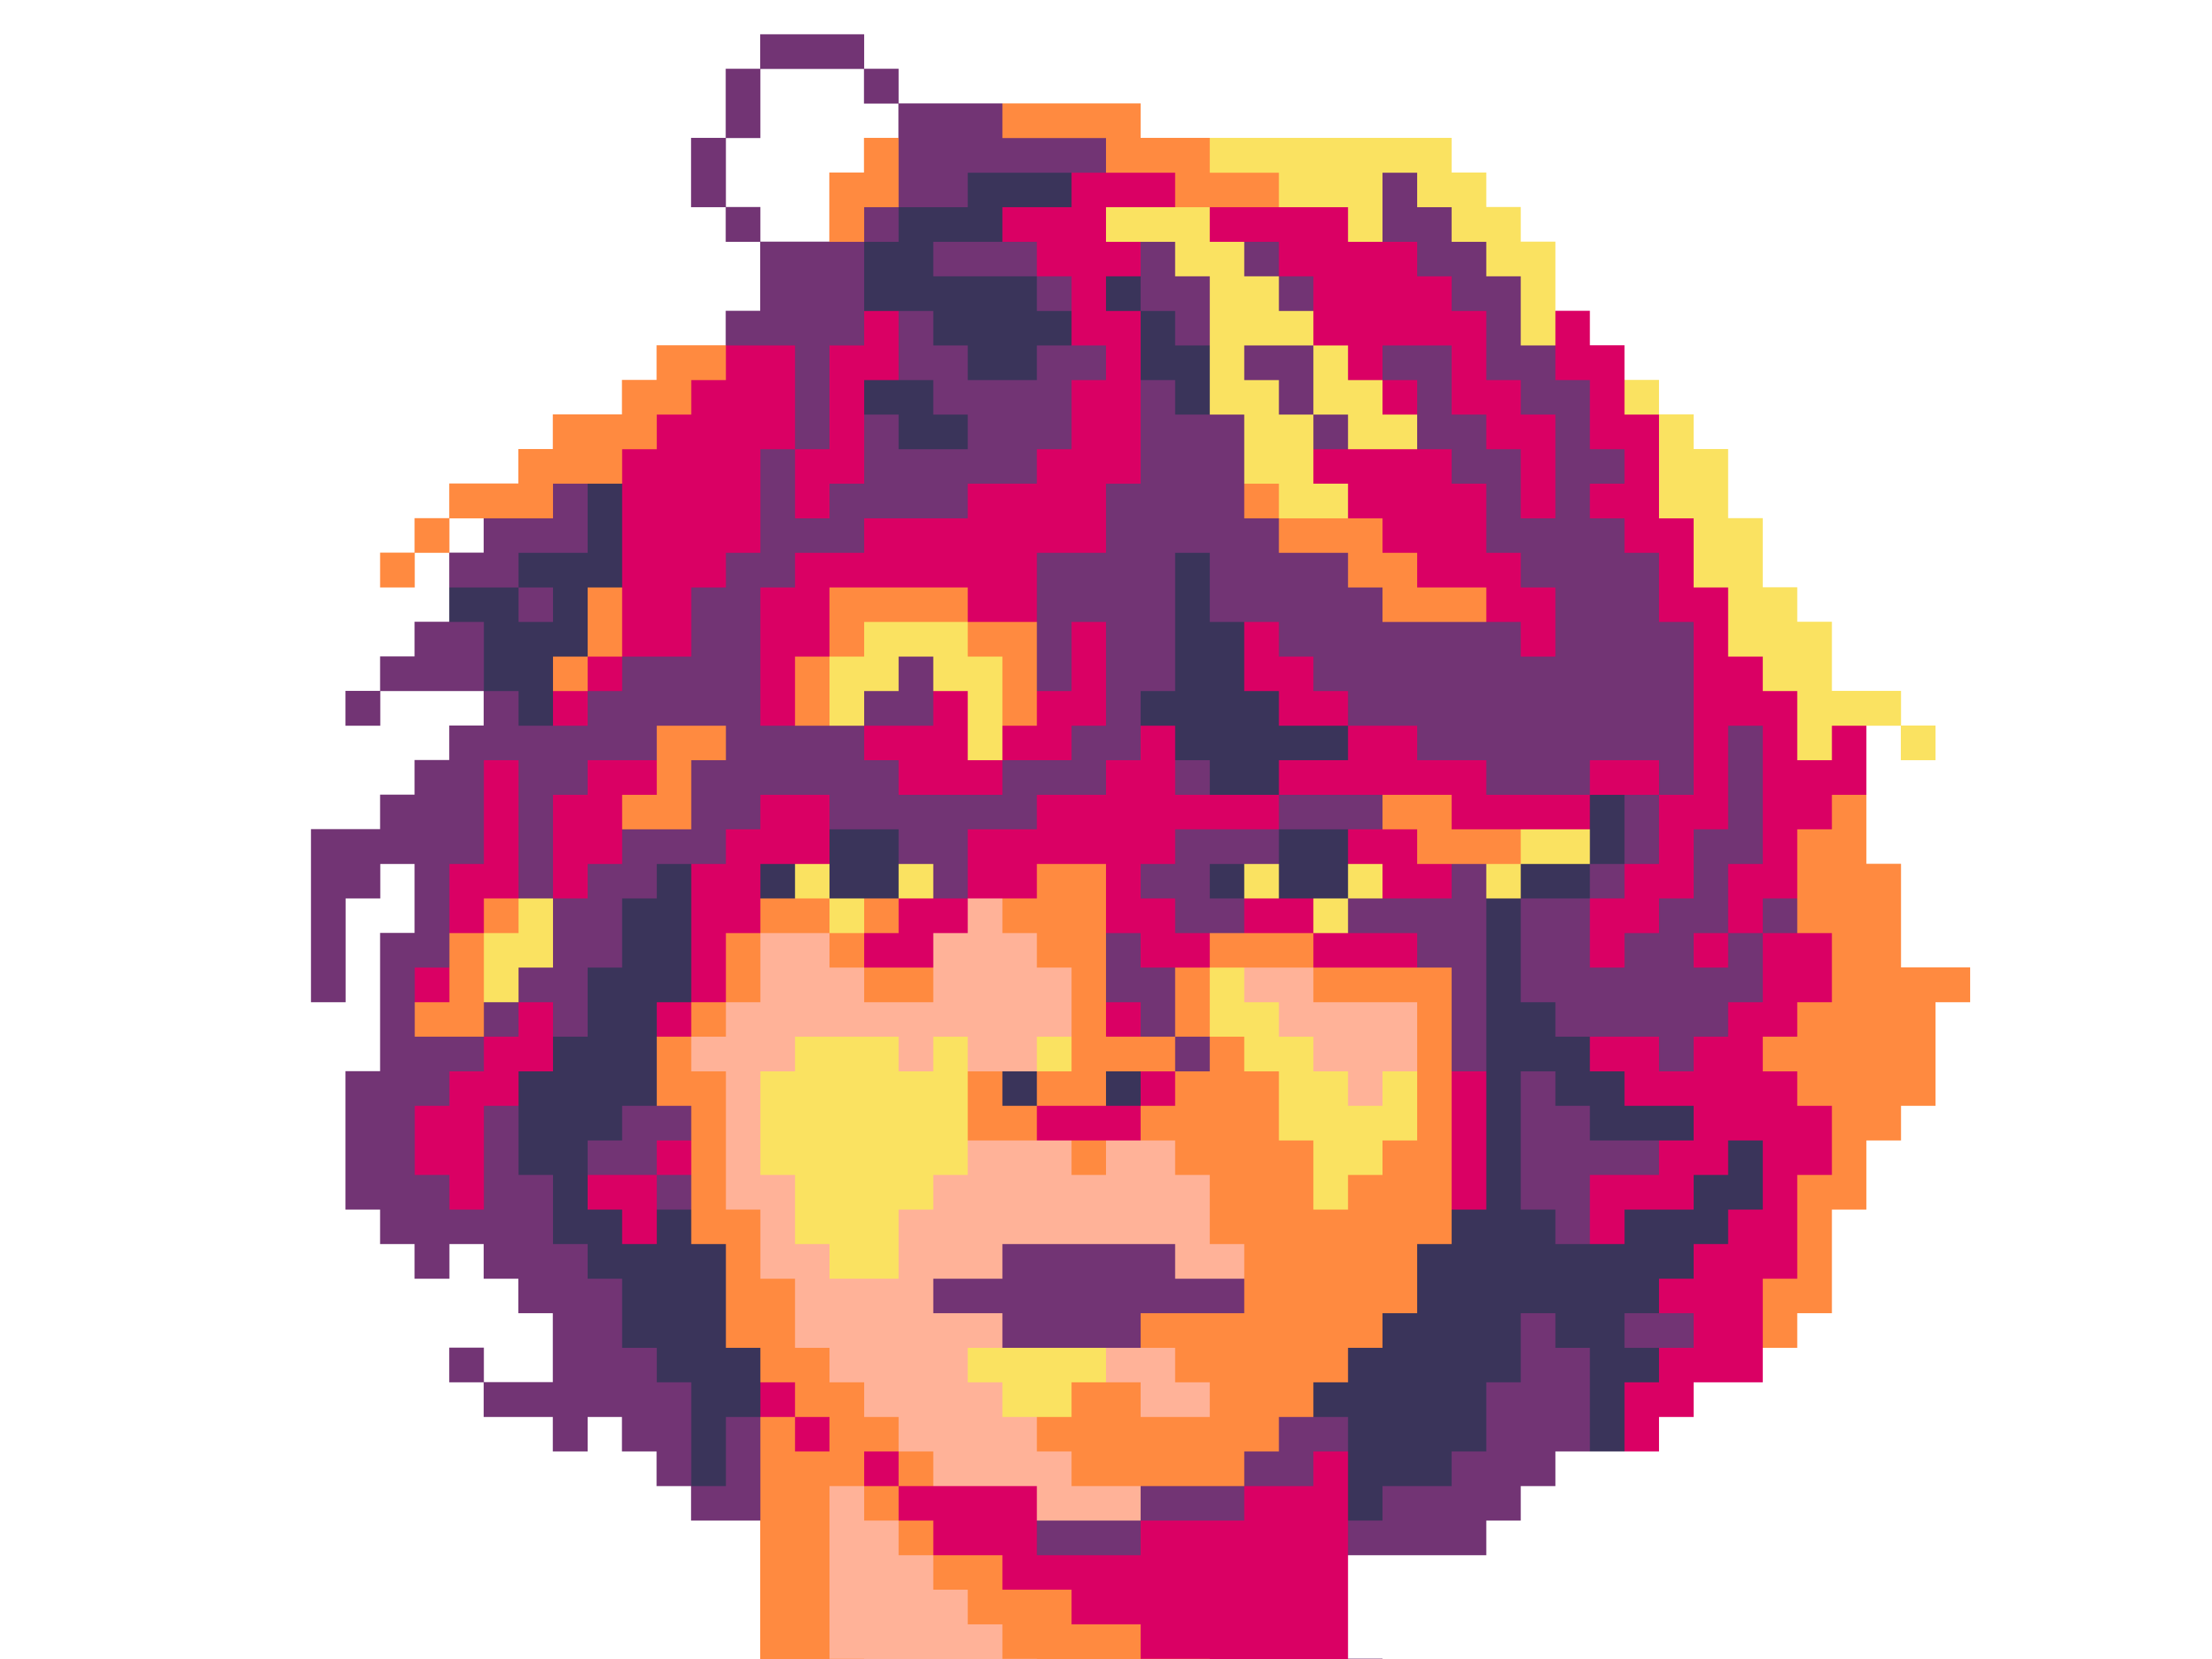
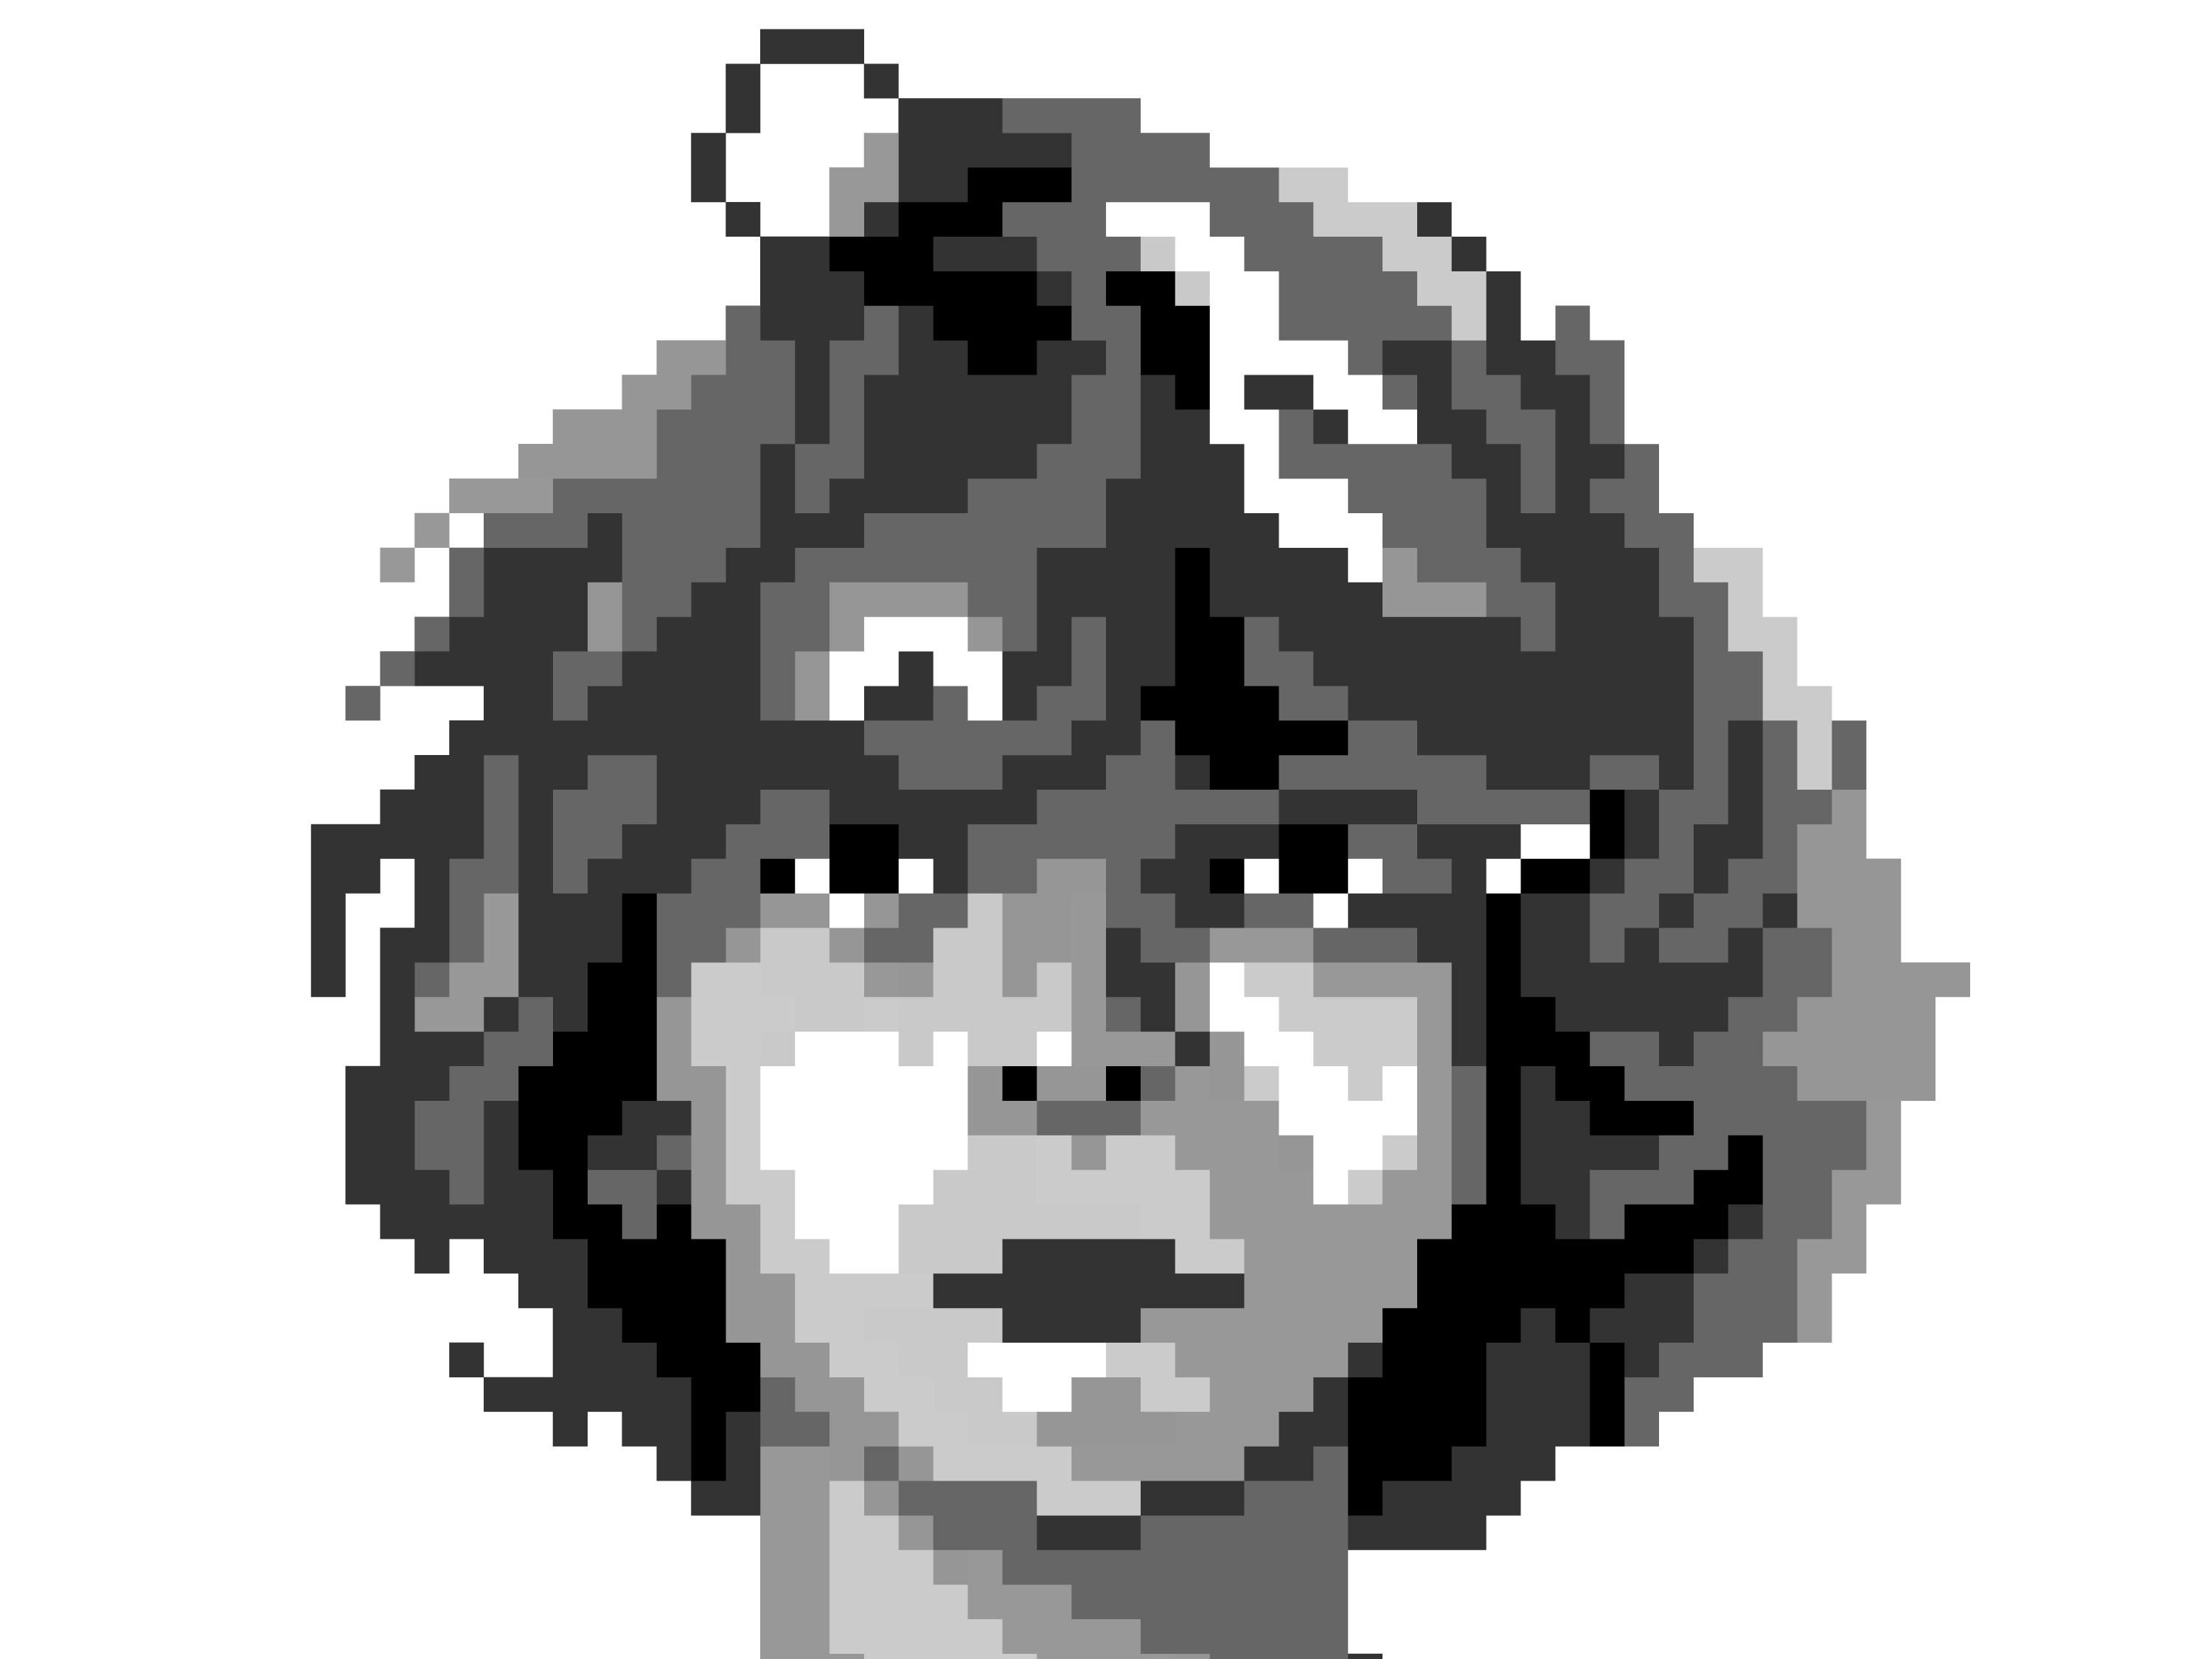
Process: The first step in the project was to come up with a design that worked properly as a bandana. We could not simply put any design onto a square of fabric, but had to create something that would appear as the same pattern from any orientation. After a couple check-ins with the professor, the black and white design shown below was solidified as my personal bandana design.
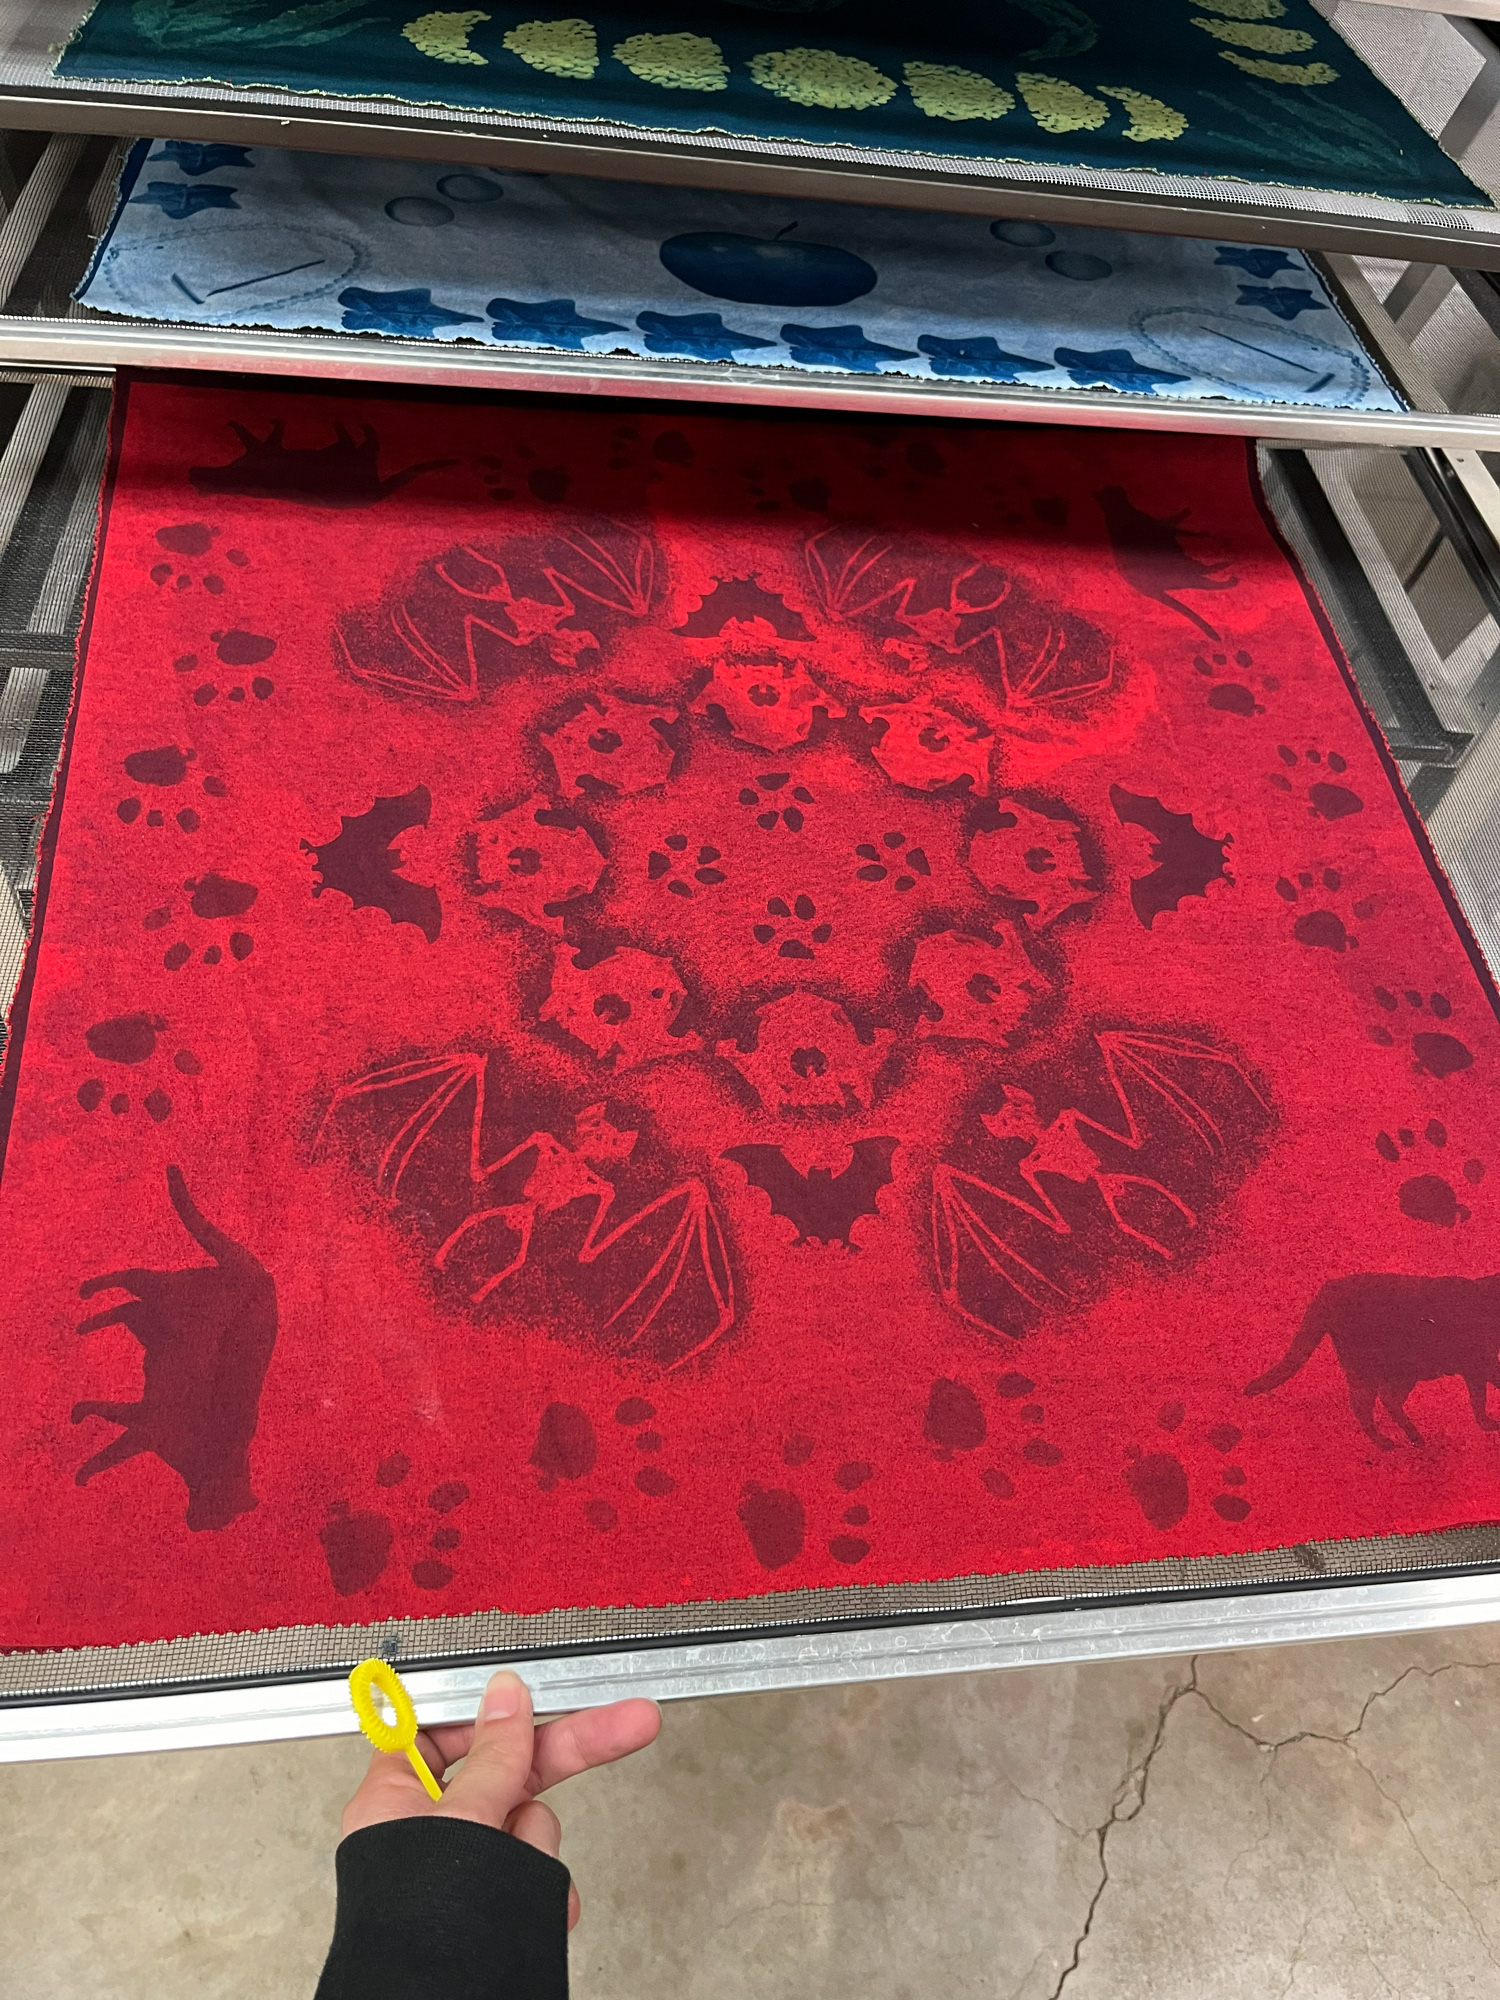
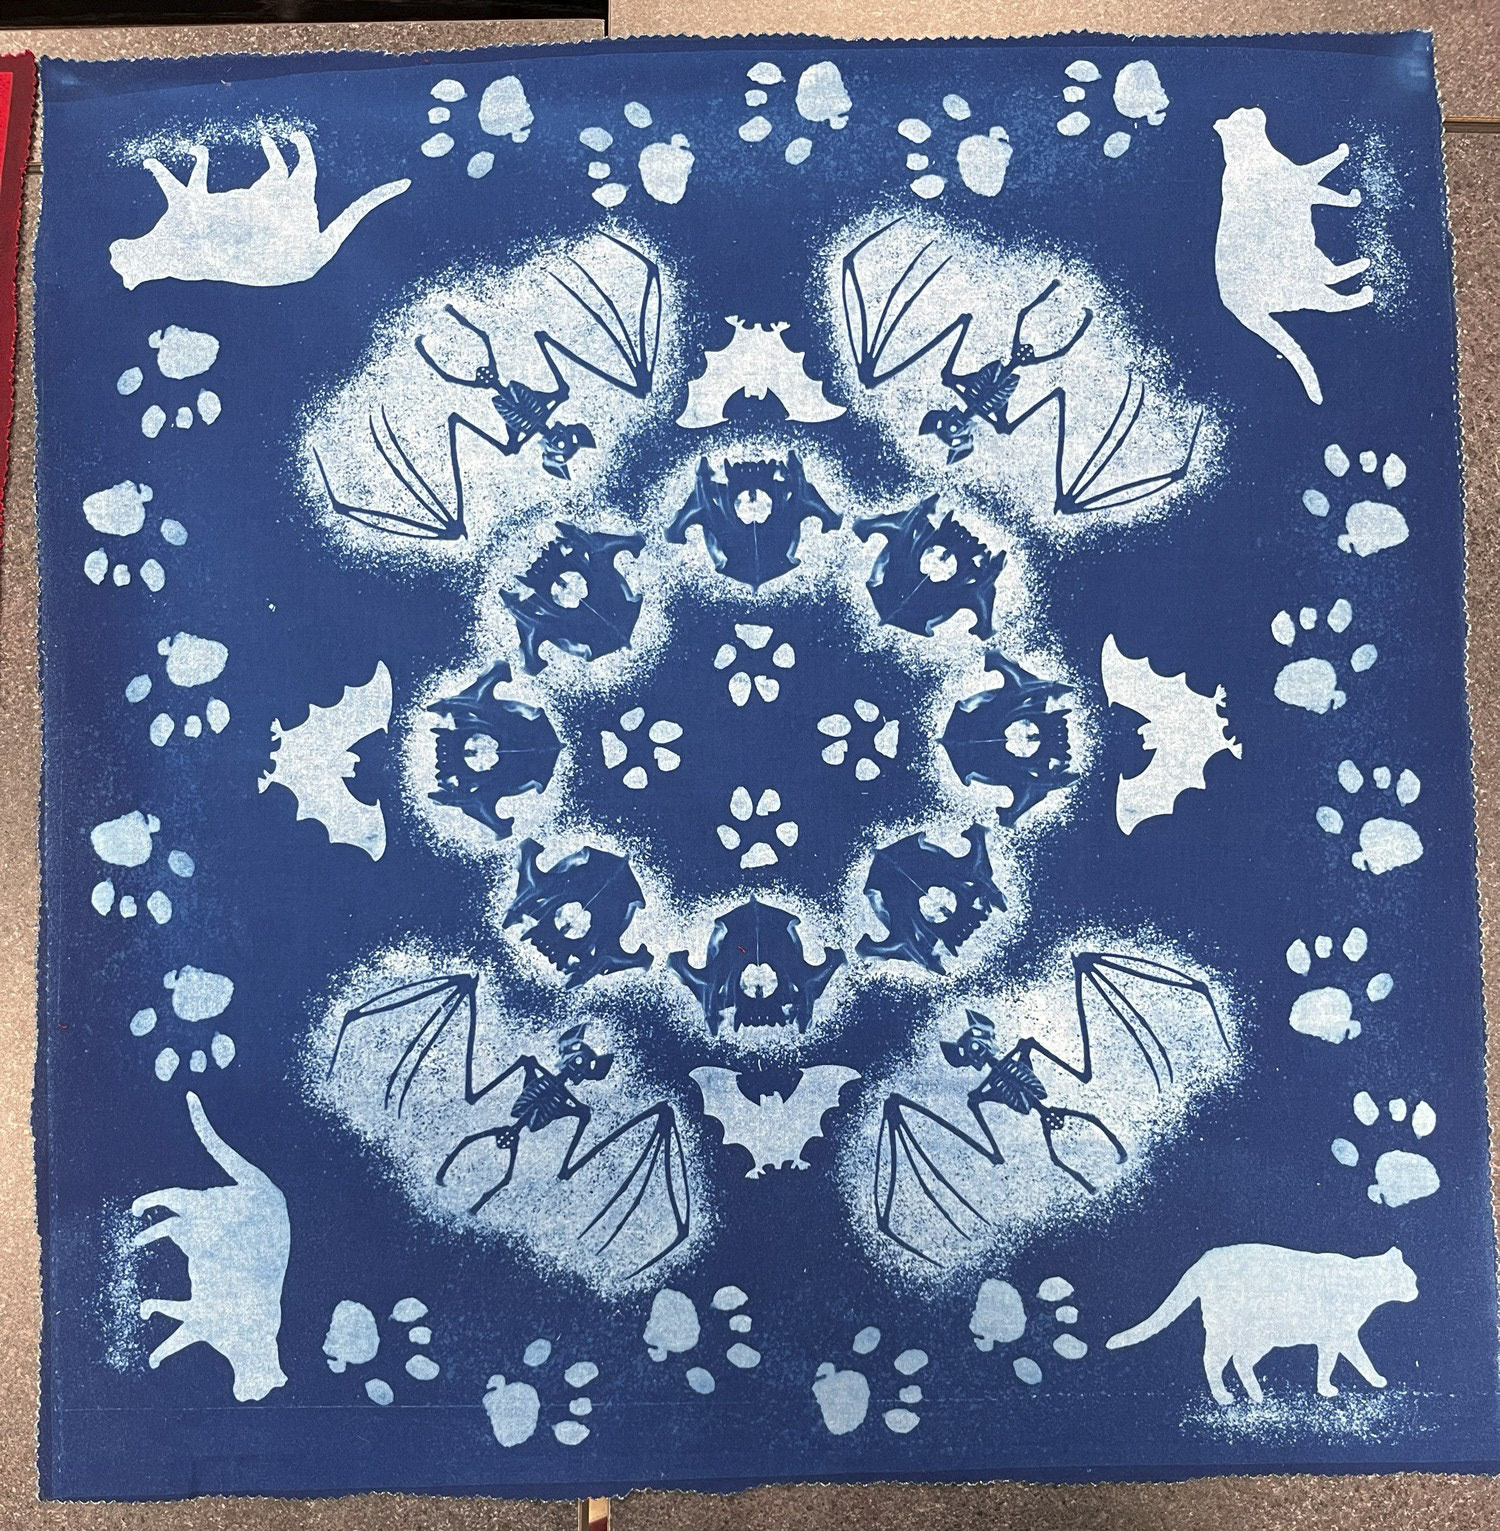
Next, we were to print our designs to film. I decided to print both a positive and negative version of the design, as I had experimented with inverting it in Photoshop and was curious to see the difference in results. Once the film was printed, the positive and negative designs were burned into white and red squares of fabric, respectively. These squares had been previously soaked in the cyanotype mixture, a photosensitive ink, and hung to dry. After burning, the fabrics were then rinsed in a series of water, isopropyl, then water again, for a few minutes, removing any excess cyanotype material from the bandanas.
After allowing the bandanas to dry, students then were instructed to hem the edges, as to keep the ends of the fabric from unraveling. Using a sewing machine, a hem of about 3/8 of an inch was made on both the white (now blue) and red bandanas.
Reflection: I would not necessarily change anything about how I executed the process itself; But if I had to choose anything to reflect on for this project, it would be to have experimented with more copies. Although this technically wasn't possible as I was already being allowed to create two bandanas rather than one, it would have been interesting to create ones in other colors or on other fabrics.